 |
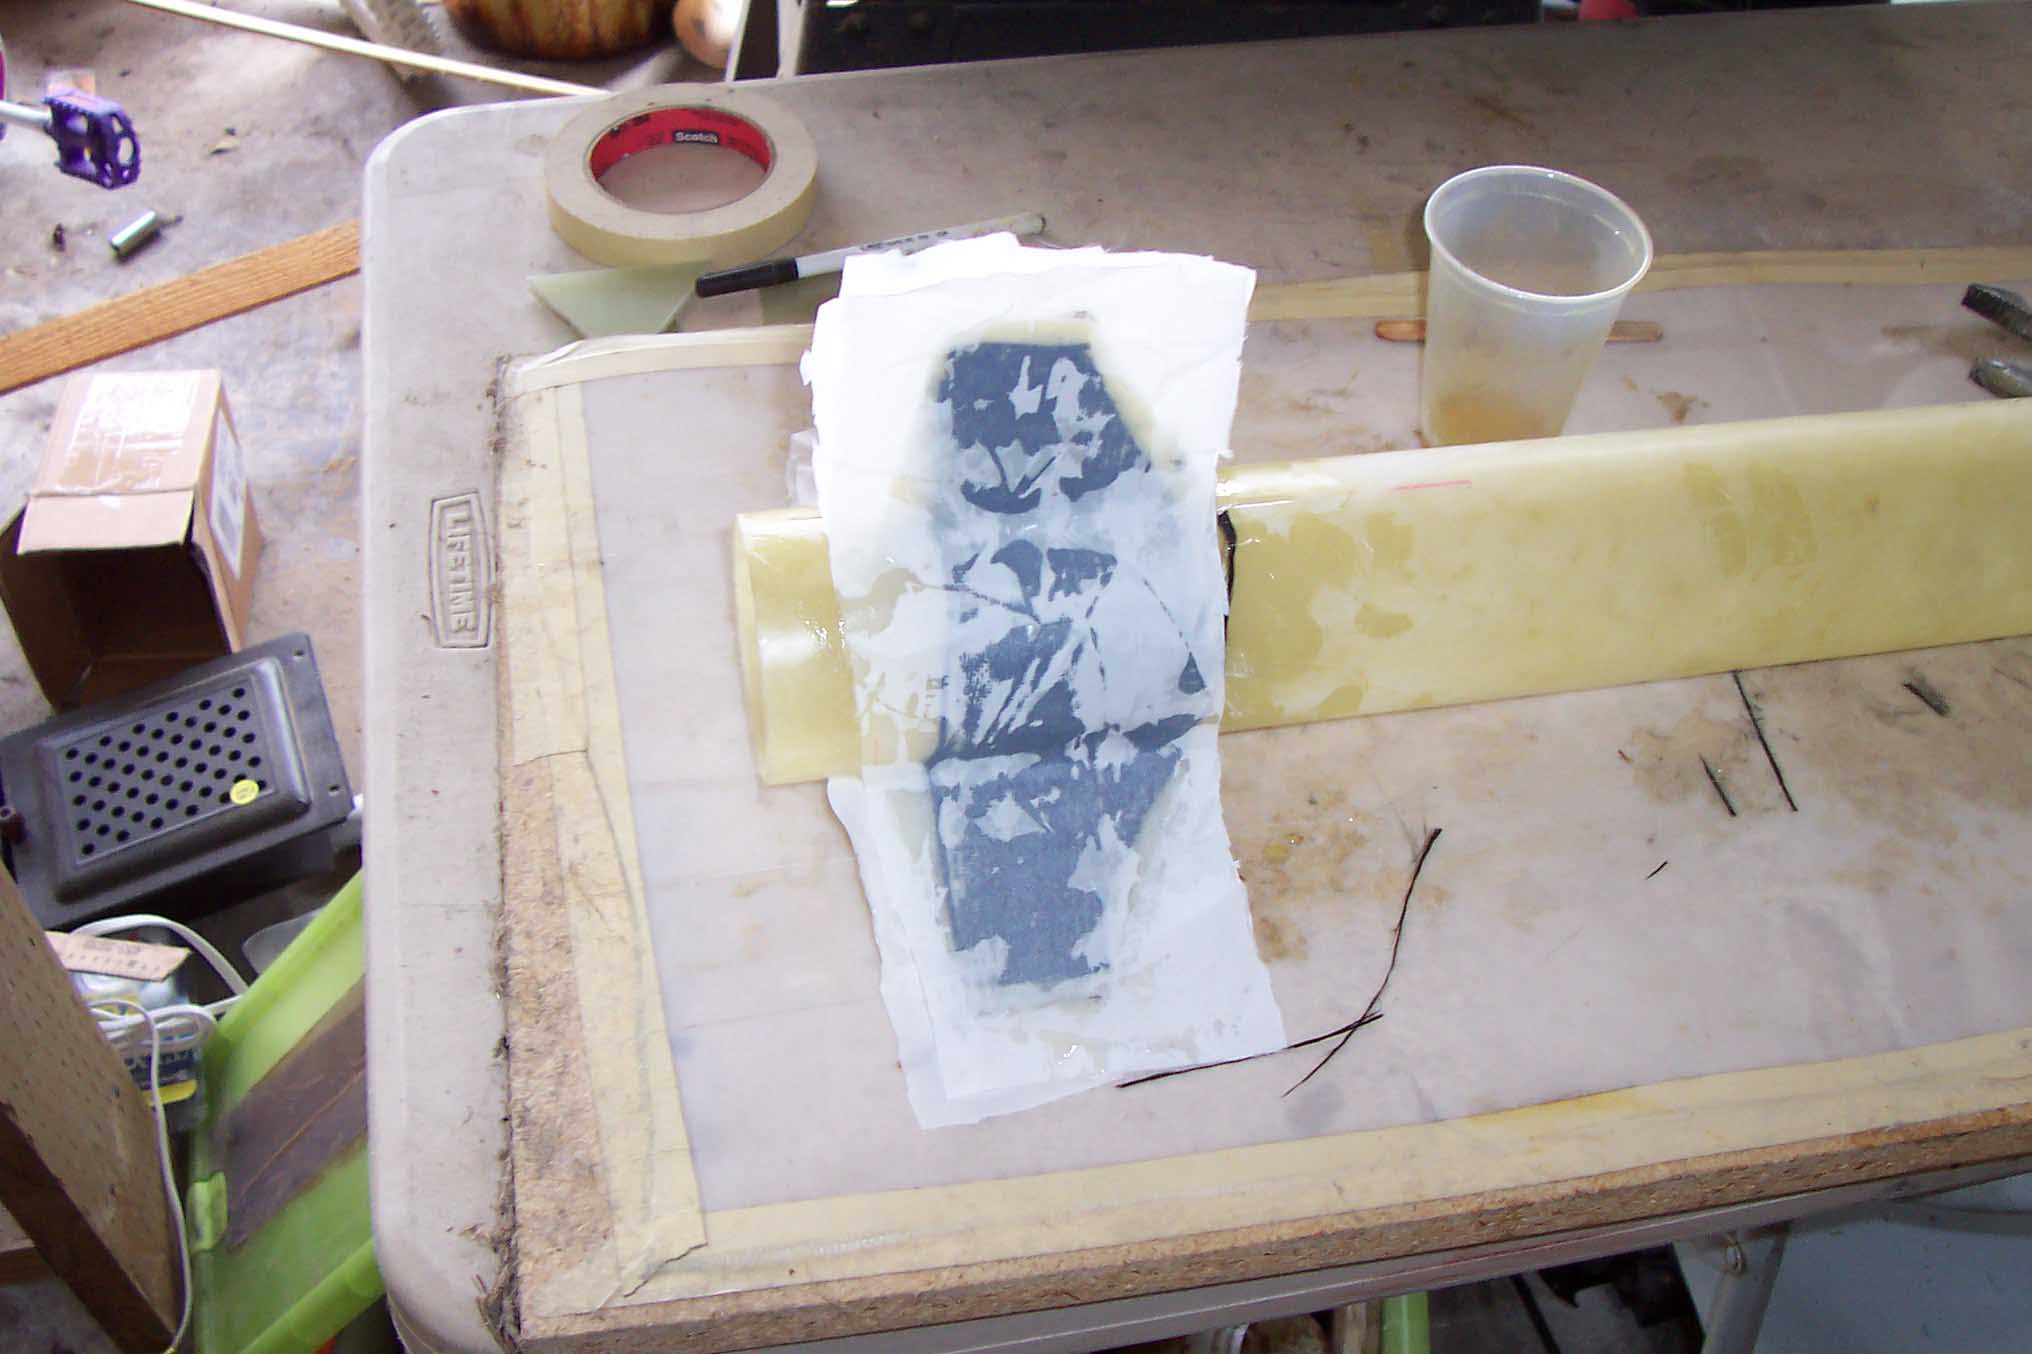
The entire process starts with a piece of filament wound fiberglass tubing. I cut dado slots in the airframe using my table saw, and then attached the
fins with epoxy. The trick I use here (see picture) is to hold them in place with masking tape. I put one fin on, set it in place with tape, then move
to the next fin.
Once they're all on I verify the alignment with a fin guide printout from VCP.
Once i'm happy with where they are I use a trick to set the epoxy fast.
|
 |
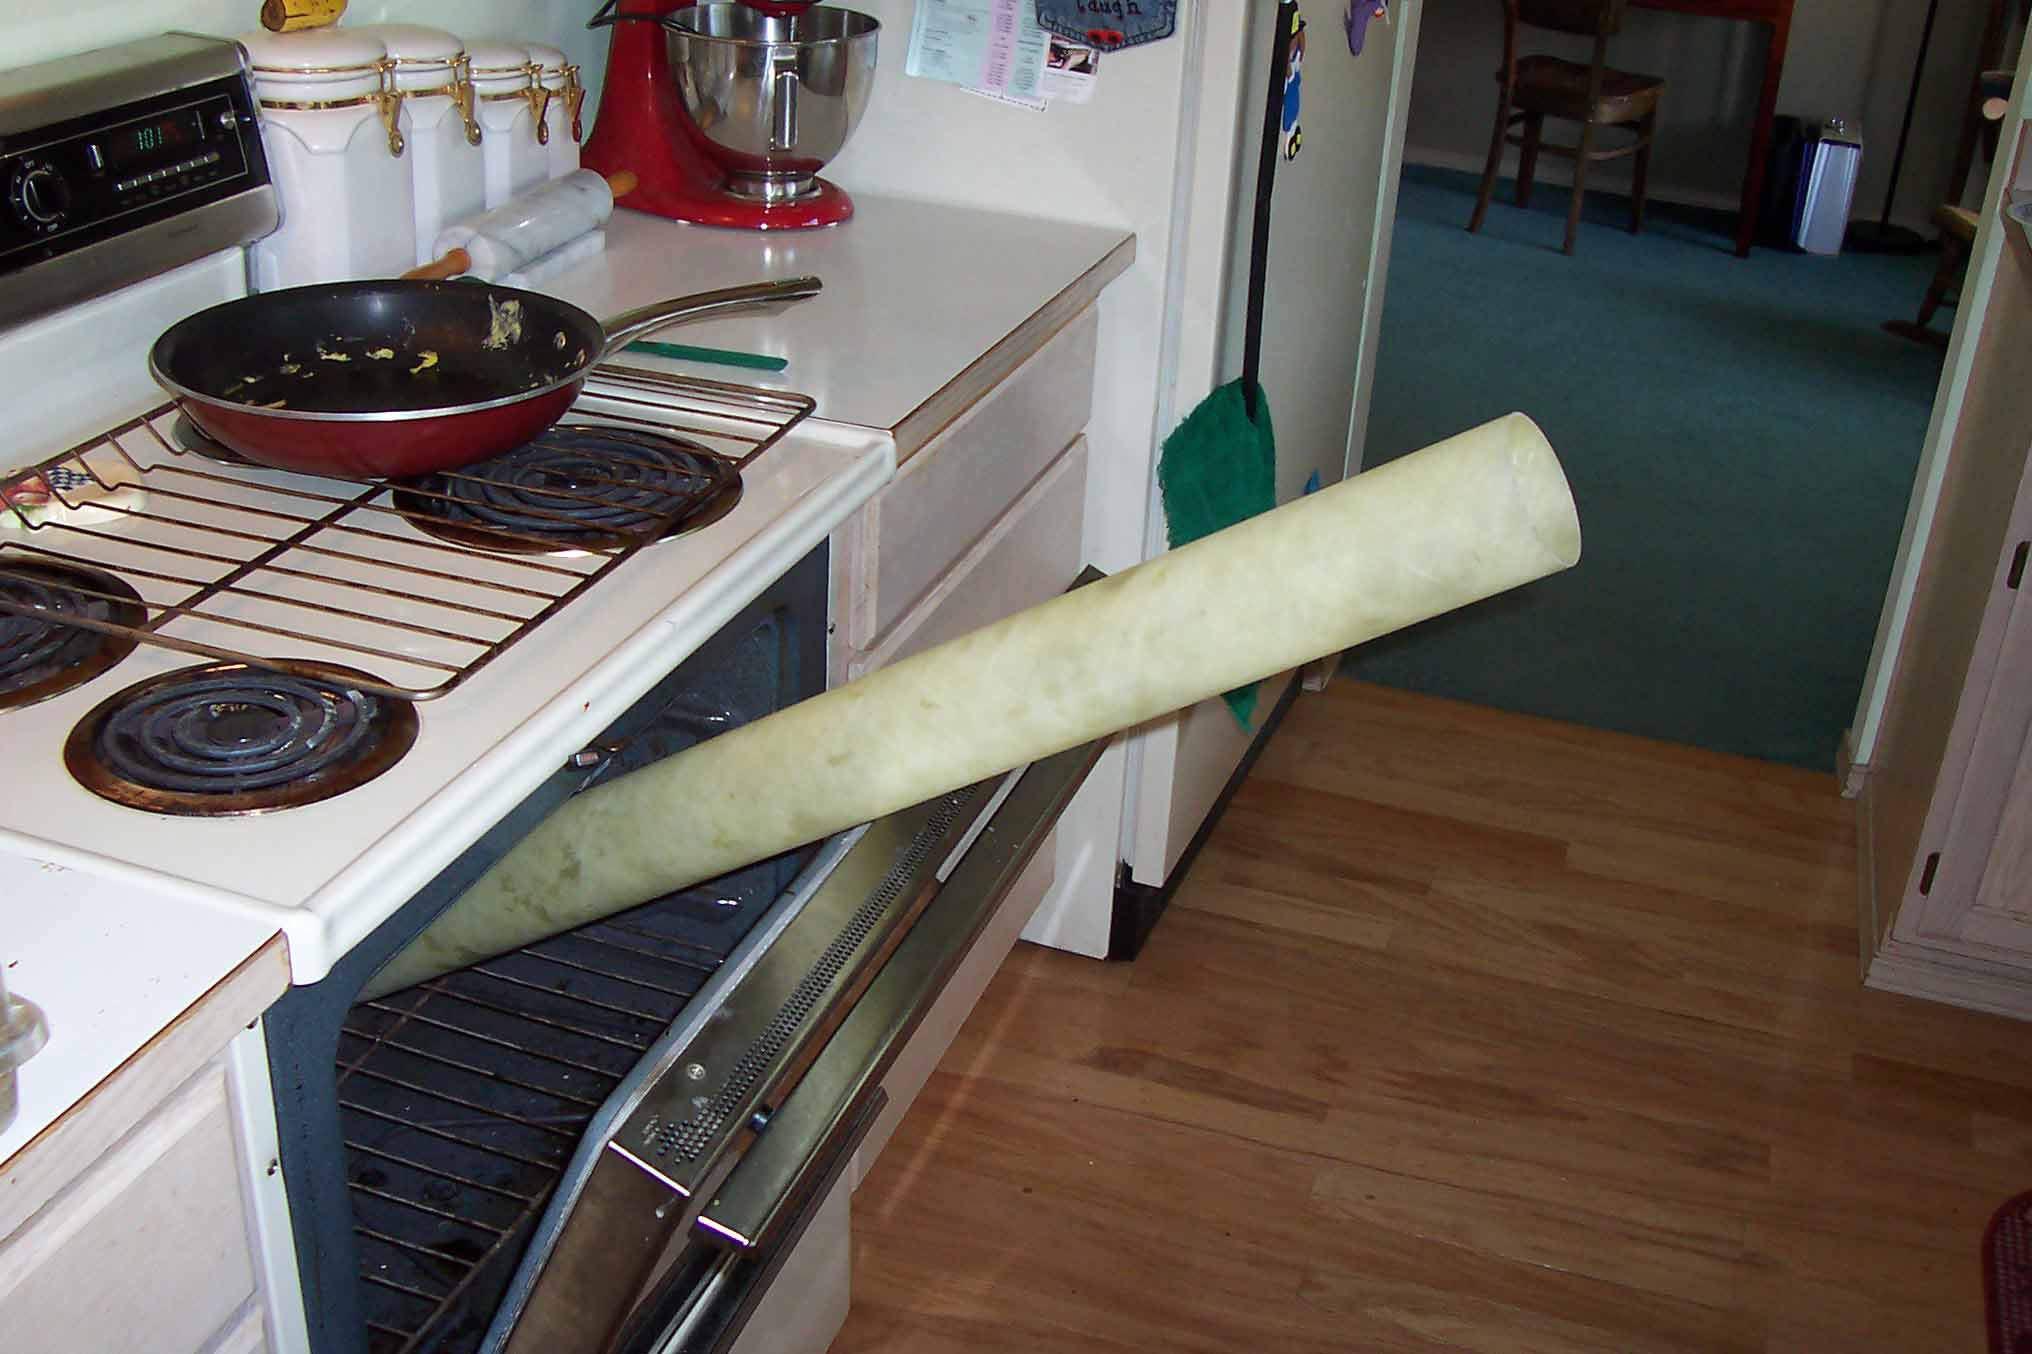
Yup, thats my rocket in the oven. I've pre-heated the oven to 200 degrees and then carefully propped the rocket between the oven door and the bottom rack. Why do this?
Because after about 5 minutes in the oven the epoxy is cured and I dont have to worry about the fins getting bumped, epoxy dripping all over, etc.
Once they're set I remove the tape and apply fillets using epoxy thickened with fumed silica. Back in the oven for another 5 minutes and the fillets are cured solid!
Only 20 minutes to apply and fillet the fins. Not bad!
|
 |
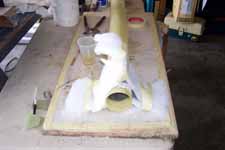
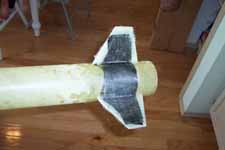
Now its time to vacuum bag the fin can. I'm going to assume you know the basics of vacuum bagging composites.
Pictured here is the fin can wetted out with epoxy and
a layer of 5.7 ounce carbon fiber fabric, a layer of unidirectional carbon (fibers running from fin tip to fin tip), and a layer of 10 ounce fiberglass
(mainly as a sacrificial sanding and cosmetic layer). On top of that is a layer of peel ply.
|
 |
Now i've added the breather. I like to loosely tape it in place with masking tape, it helps to hold everything where I want it and makes it easier to get into the bag.
|
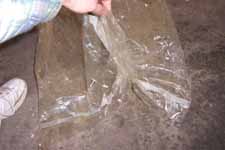 |
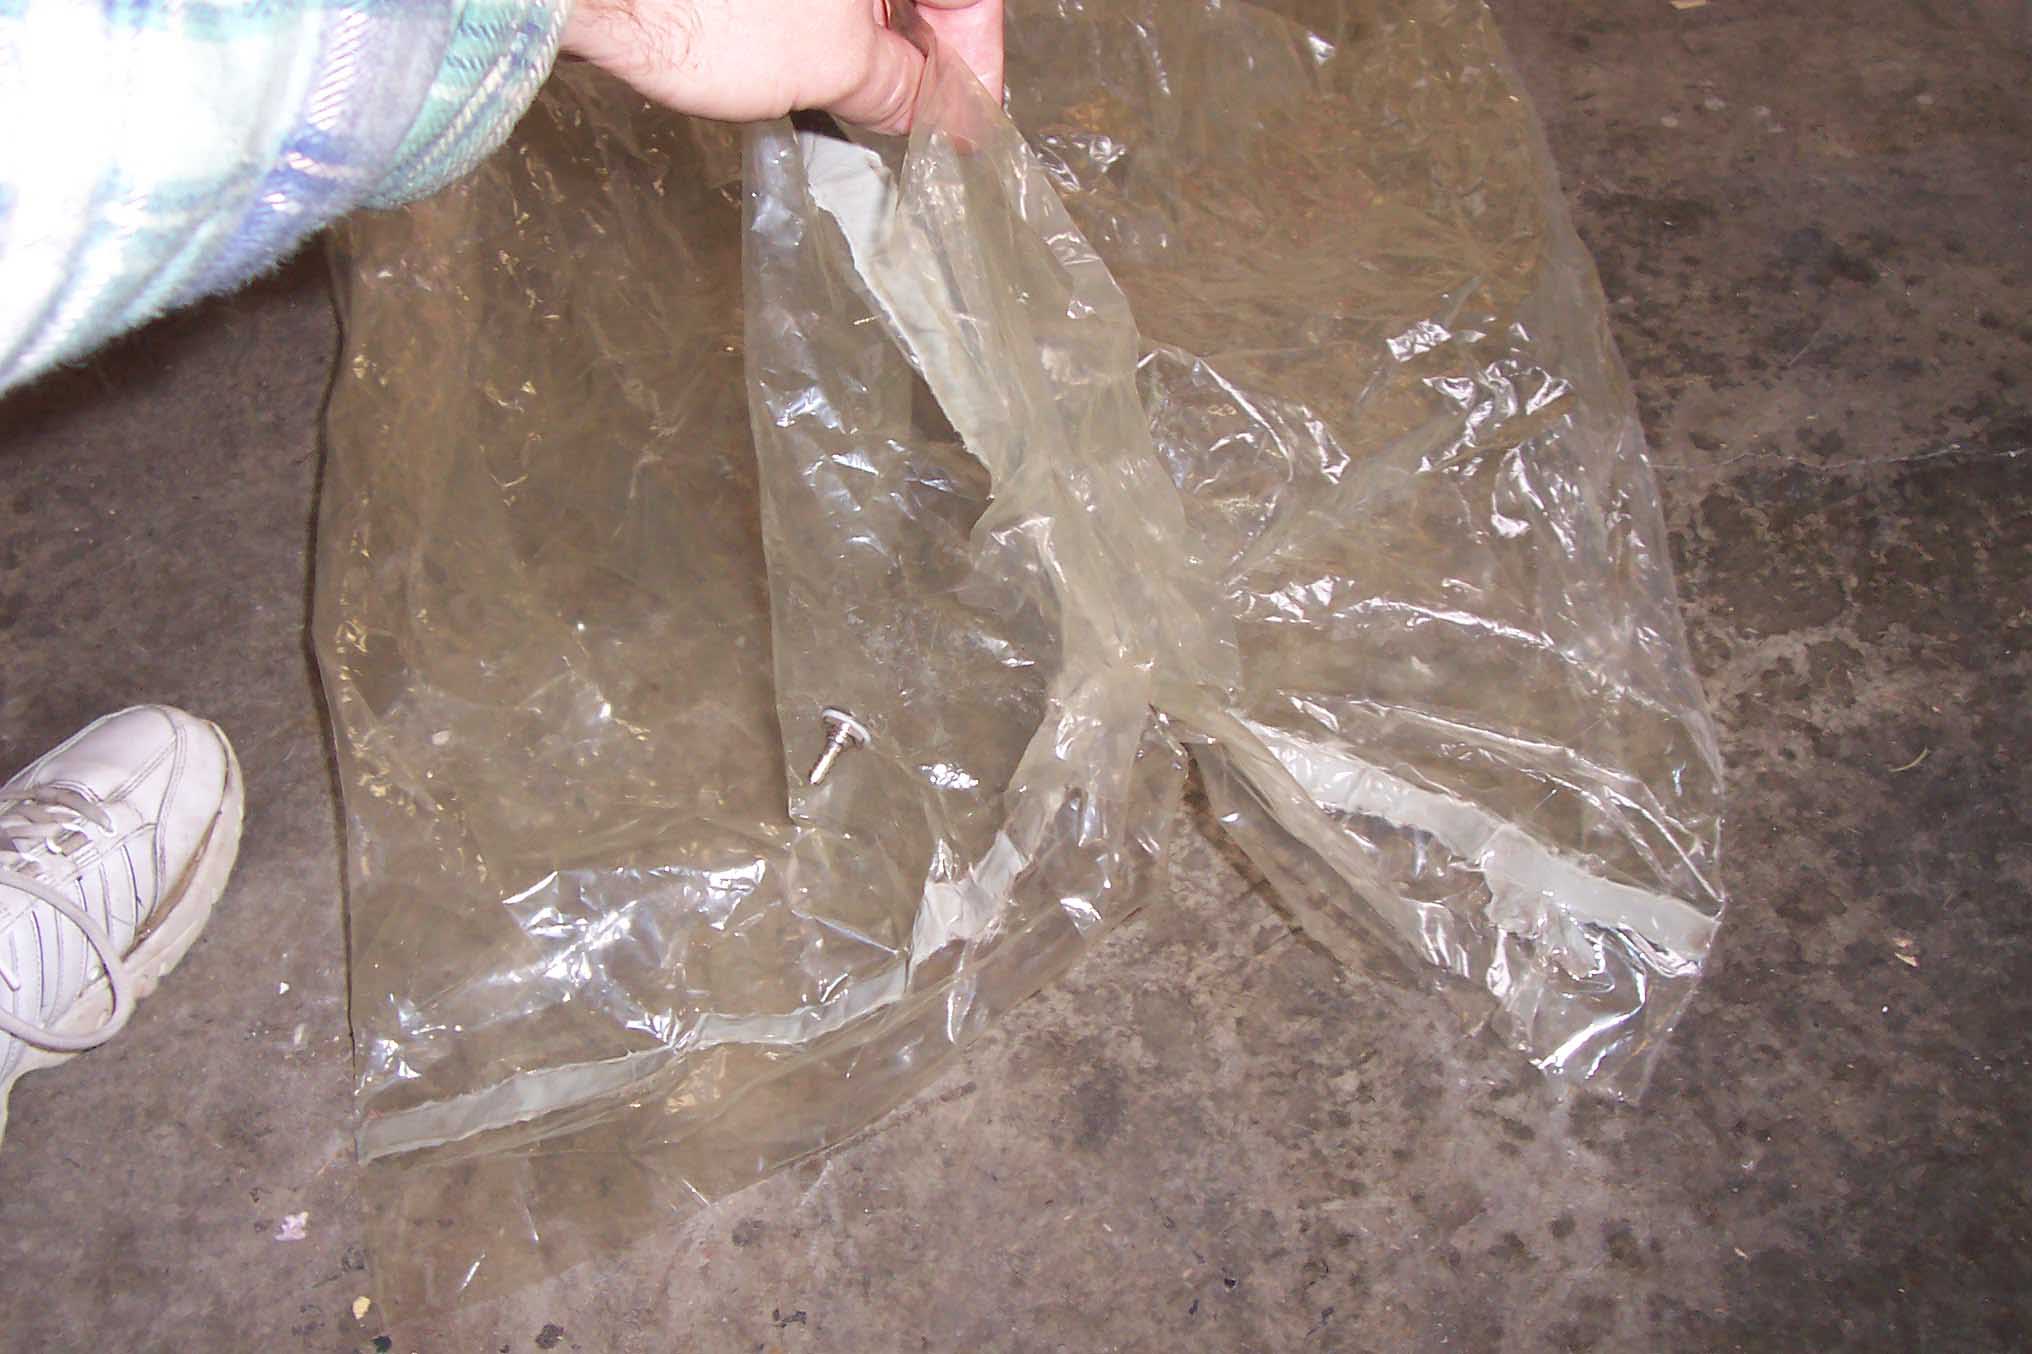
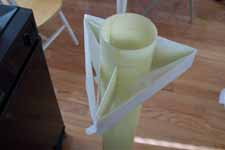
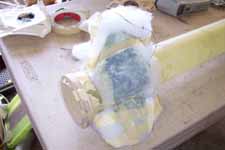
This is the end of the vacuum bag that fits over the fin can. Nothing special here, just regular vacuum bag material and the double stick putty stuff.
I form the end of the vacuum bag into the shape seen here to conform to the fin can.
|
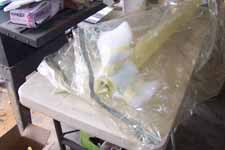 |
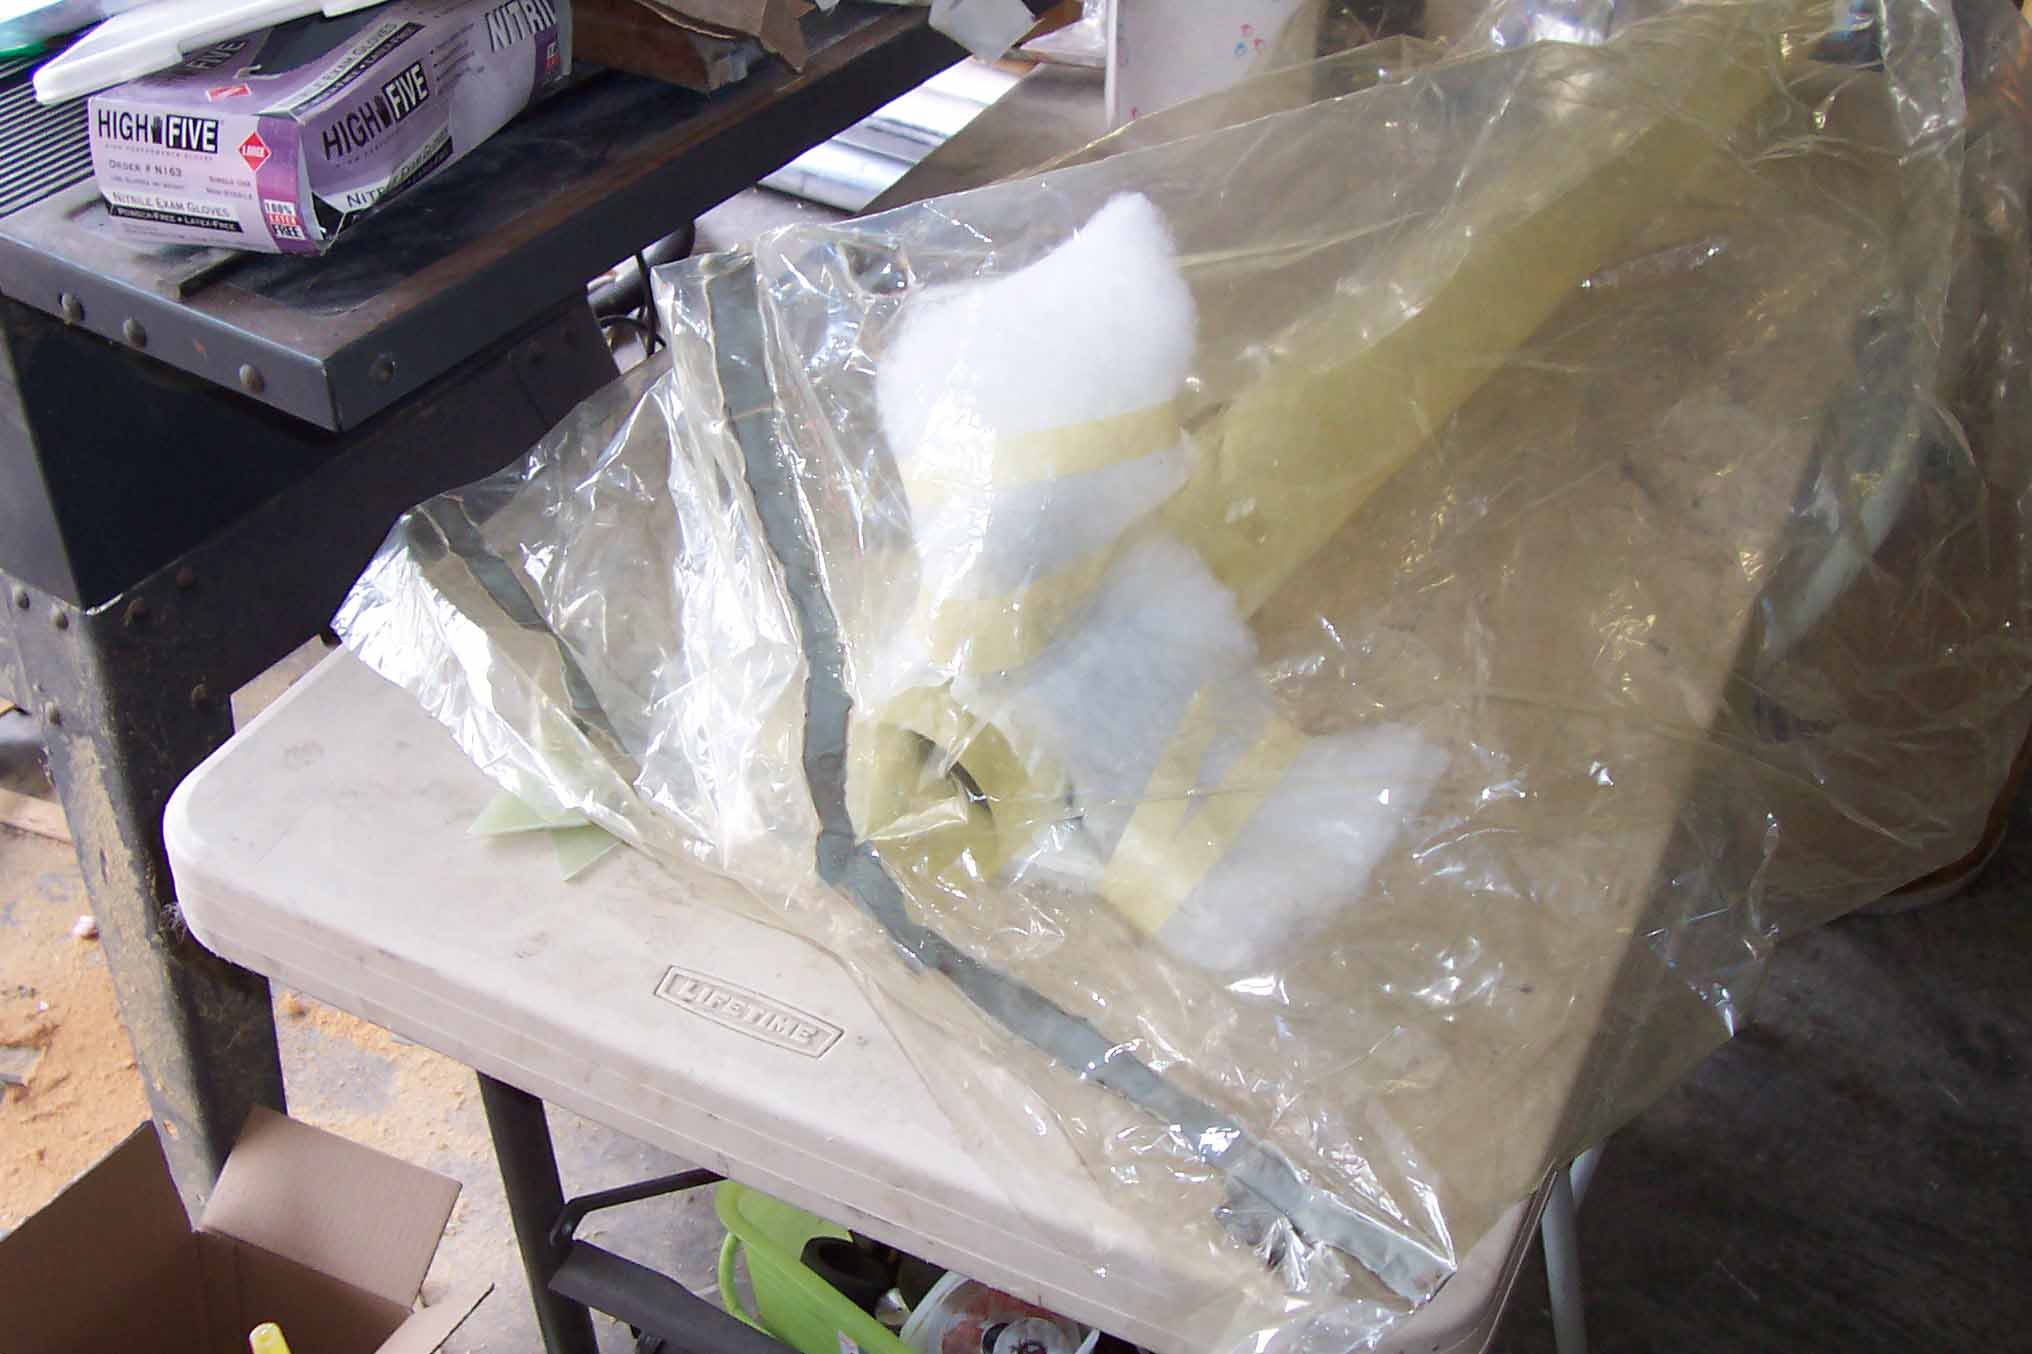
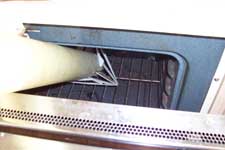
And here we are with the fin can inside the bag.
|
 |
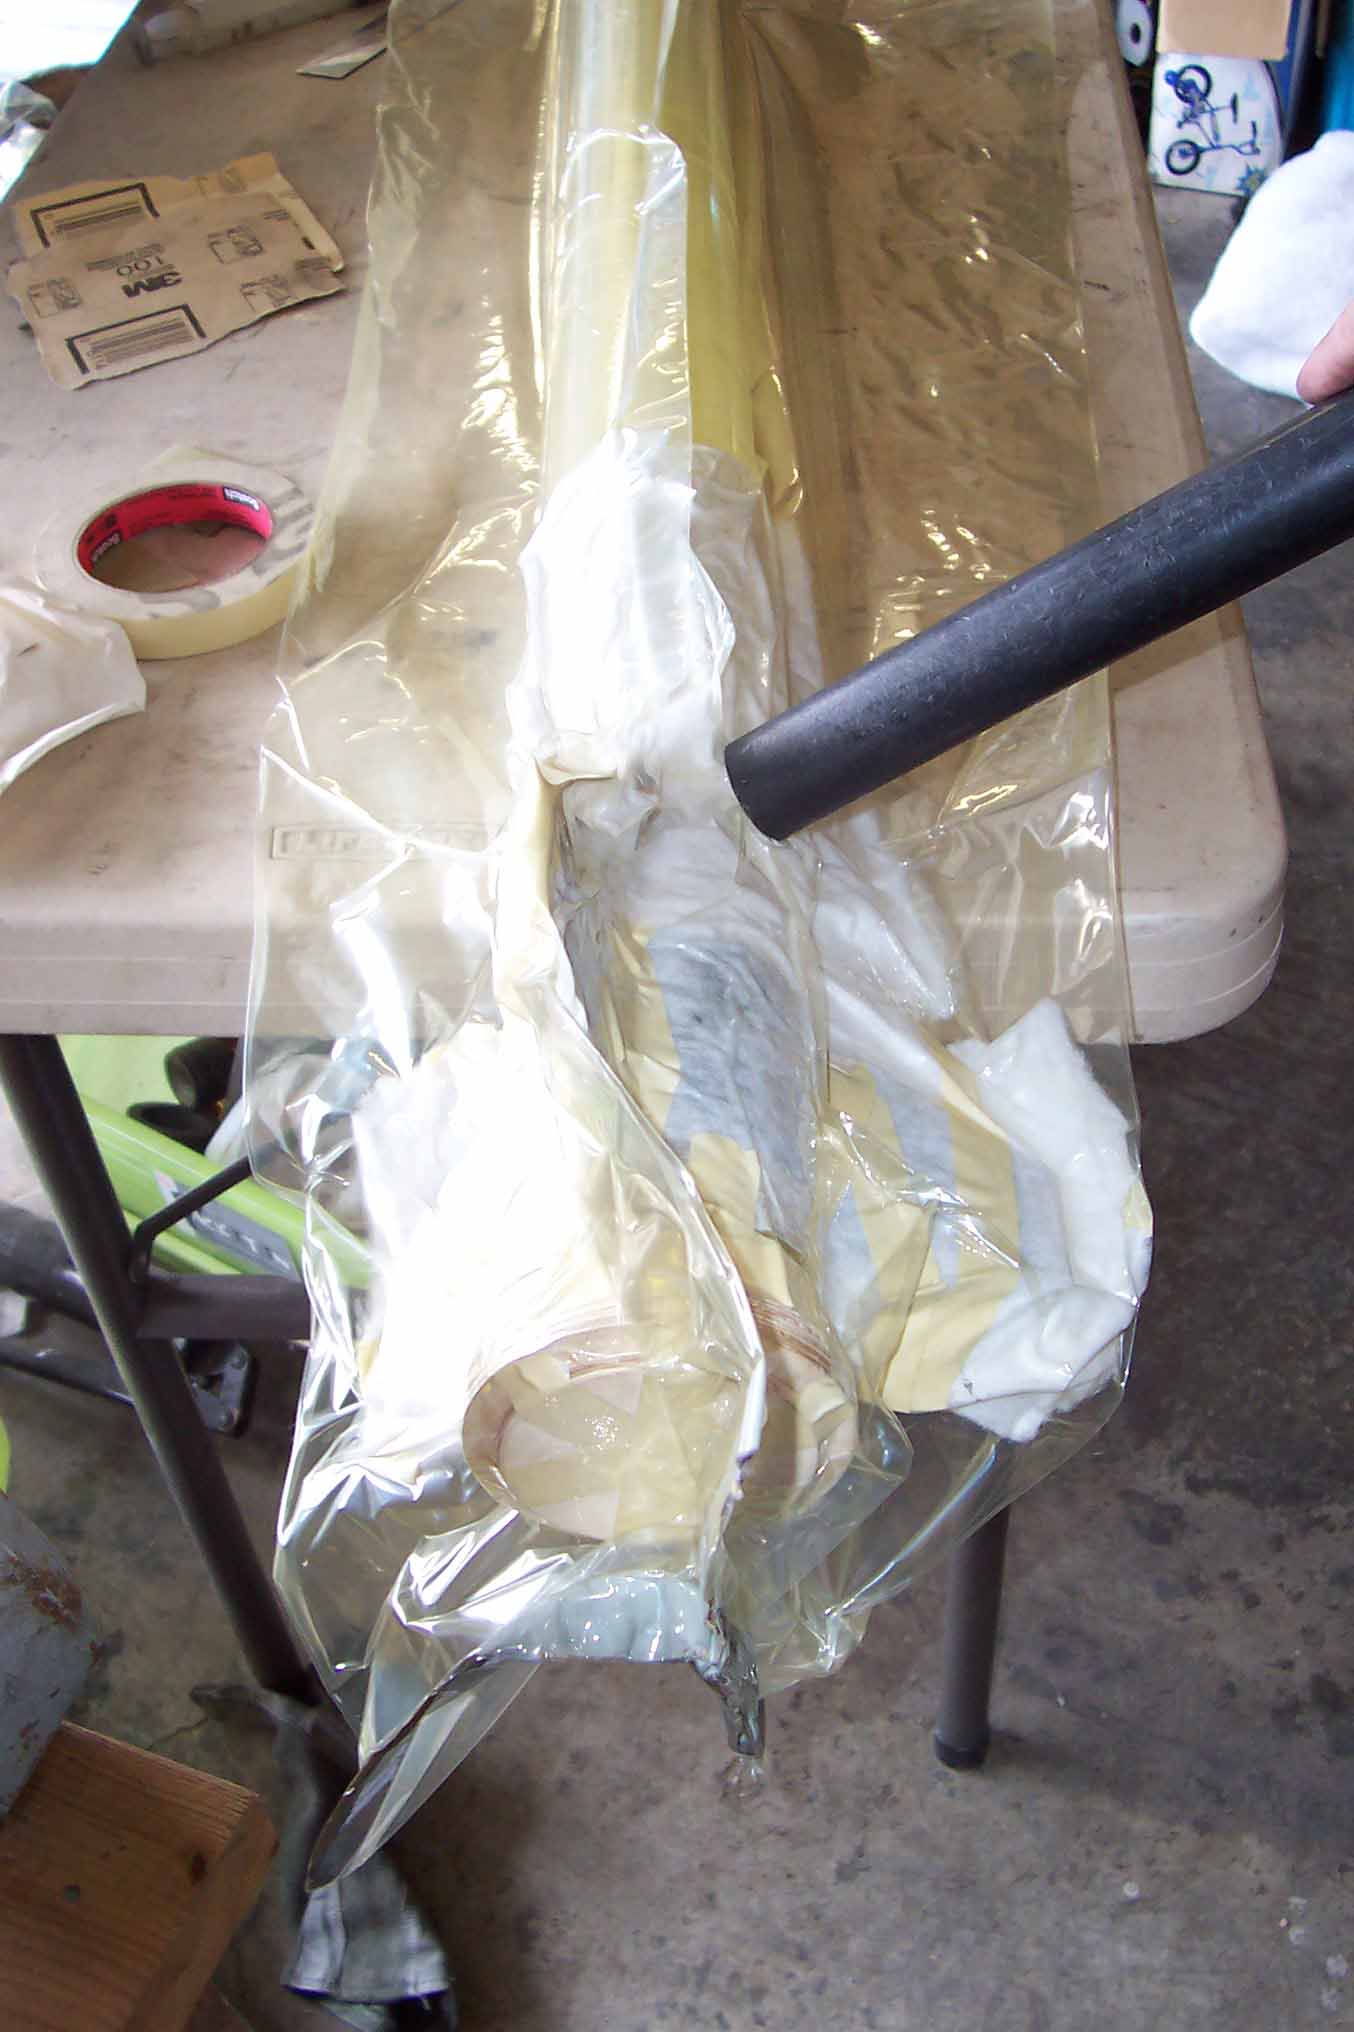
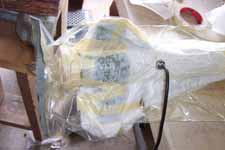
Applying vacuum. No, I dont use a vacuum cleaner for the entire process, I just find that a shop vac has a much higher CFM rating than my vacuum pump.
It gets the air out much faster. I like to pull it down with the shop vac first, then get all the wrinkles out that I can, make sure the bag is fitting properly
and just make sure everything is in place. Then I hook up the vacuum pump and pull it down. My pump is wearing out, it only does 23 inches of mercury.
Fortunately this is sufficient for what I'm doing here.
If you look closely at the end of the rocket you'll notice a wood bulkhead taped in place over the end. This is to prevent the vacuum bag from being sucked
into the tube and then popping. This is a required step. Also, if you're vacuum bagging a cardboard or phenolic airframe you'll need to reinforce it with
coupler tubes and bulkheads inside. With fiberglass tubing that isnt necessary as the stuff is plenty tough.
|
 |
Here we are with vacuum applied. Notice the resin that can be seen seeping into the breather. This is good.
|
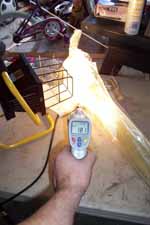 |
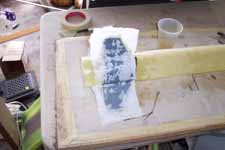
I have yet to build myself a heat box for curing composites. I need to, just havent got around to it. In the meantime I've found that the
500w halogen lamps work pretty darn good for directional heating. As you can see here with my handy-dandy infra-red thermometer I'm able
to get the temperature of the fin can up to 180 degrees F! Thats pretty darn respectable if you ask me. Only problem is it only works for one side.
I could probably set up a couple in a jig or on stands to heat all 3 sides at the same time. Might be easier than a cure box, who knows.
CAUTION:Obviously, there is a potential fire danger here. With no thermostat there is no telling how hot this could get.
If you do this, exercise caution and common sense. Dont leave it unattended, keep fire extinguisher handy, etc.
|
 |
After about 15 minutes of vacuum and heat (applied to all sides by rotating the piece) I pull it out of the bag.
|
 |
With a little grunting I'm able to remove the peel ply. Not a super pretty layup, but suitable.
|
 |
I take it back to the kitchen for a post cure in the oven. Check your epoxy's documentation on reccomended cure and post cure temperatures and procedures.
|
Well, I hope this was informative. If you have any questions, dont hesitate to contact me.